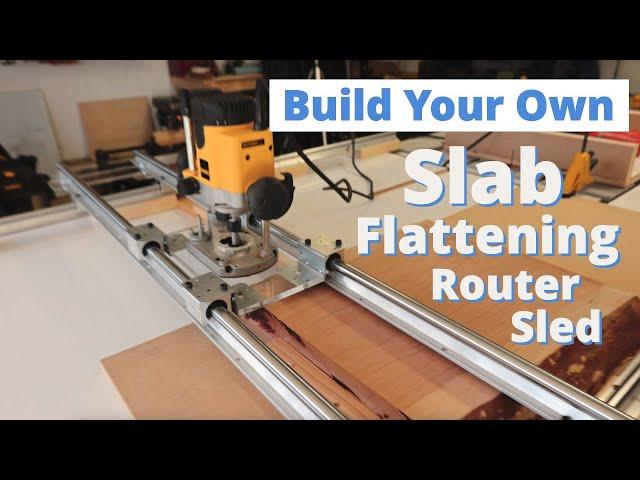
Build Your Own Slab Flattening Router Sled
Комментарии:

First flattener lol. Go Yankees
Ответить
at long last about to build mine, just needed a push to do it. nice work
Ответить
That thing is cool Dino. I want a flattening setup however I have a drum sander and that works pretty well also for now. One day, I'll have one. Great video bud!
Ответить
What was the rough cost (outside of the router and underlying table)? Thanks! Good job.
Ответить
Could you let me know the screw sizes for the 20mm rail glides and the 16mm glides. Great video well done!!
Ответить
What speed was your drill press at for the holes in the plexiglass?
Ответить
My sled(slab flattener) is 2 3"× 6" aluminum rectangle tubes 4' long for the rails and 2 2"× 2"× 1/4" angles 4' long with a polycarbonate base for the router support. Just slide the angles along the rails. Use a 2" Whiteside flattening bit. It will flatten a slab up to 24" wide and 4' long and 2" to 4" thick. Works well so far. Got all the aluminum at work, so it was inexpensive too.
Ответить
Just so you know, it does not cold grummins. It's called blind nuts.
Ответить
thank you just order me one
Ответить
good job
Ответить
Awesome, nice job!
Ответить
Awesome job!
Ответить
Why did you choose Acrylic over polycarbonate? Polycarbonate is impact resistant
Ответить
Coooool😎
Ответить
Great job looks wonderful. Just wondering why you changed JKM Woodworking channel design it seemed perfect to me? Just curious. Thanks for sharing.
Ответить
Good Day 🌅, nice job, I like the idea with the bracket on the linear blocks, from France.
Ответить
Looks great. Just curious, why not a CNC spindle vs a router for this? Can't find any video that uses one, but wondering why not.. they seem better able to handle more speed, more power, etc. Regardless.. how do you plunger further down? Are you limited to the plunge base of the router in this case.. or can you plunge down to a 1/2" work piece? Ideally don't want to have to change the blocks under the long rails to adjust the height of that.
Ответить
Great video. Appreciate the level of detail with your assembly. I am wondering how long these bearings will hold up on the runners with all the sawdust? Is yours still smooth?
Ответить
Hello, where is you get the rails and bearings? Or did I just miss it?
Ответить
Sorry for that last question sounding so bad, I meant to say, where did you get.......
Ответить
Is there a different option for mounting the acrylic to the rails vs. doing the Z bracket modification? Could the acrylic piece be mounted on the top of the bearing pieces? Then use a collet extension to get the same height?
Ответить
Nice job. Many sliding miter saws use the same linear bearings so I imagine they will hold up well. I would add a little loctite to the screws in the router base and at the machine screws on the bearings because there will be a lot of vibration. Have you had any issues with dust collection? Do you wish for a sweep under the acrylic to aid in that? Do you want some sort of stop block to hold the rails steady for each 'row' that you smooth out?
Ответить
Thanks, ready to put it together. Greatly appreciated.
Ответить
Blessings!
Ответить
Dear, I very much appreciated your project, simplicity, your gentleness and honesty. Congratulations from Brazil!
Ответить
Really awesome build.
Ответить
Next time you need aluminum brackets, check out 8020.
Ответить
great sled is there any sag in middle of rails from router weight when doing a wide slab
Ответить
great video and thankyou for making it and sharing. I am in the process of building mine but once I installed the linear bearings on the acrylic router cradle and then install that onto the rails there seems to be some binding when sliding as if the bearings are not exactly in-line with one another. I tried to be as precise as I could when drilling the mounting holes for the bearings but I'm thinking I may need to woller the holes out some to allow for a little movement in the bearings so that they can self-align to each other and slide more freely before I tighten them up all the way.....Whats your thoughts on this? Thankyou....
Ответить


![Execute Order 66 [4K HDR] - Star Wars: The Bad Batch Execute Order 66 [4K HDR] - Star Wars: The Bad Batch](https://smotrel.cc/img/upload/b1hqRlkwaU9BY1M.jpg)


