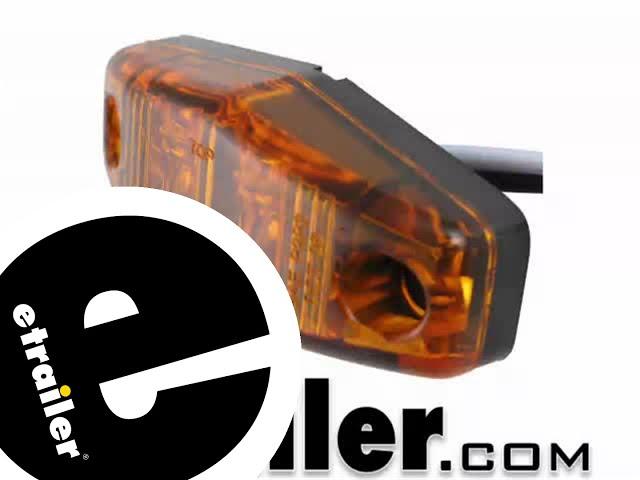
etrailer | Detailed Breakdown of the Optronics LED Mini Clearance or Side Marker Trailer Light
Click for more info and reviews of this Optronics Trailer Lights:
https://www.etrailer.com/Trailer-Lights/Optronics/MCL13A2B.html
Check out some similar Trailer Lights options:
https://www.etrailer.com/dept-pg-Trailer_Lights-sf-Clearance_Lights.aspx
https://www.etrailer.com
Don’t forget to subscribe!
https://www.youtube.com/user/etrailertv
Full transcript: https://www.etrailer.com/tv-install-optronics-mini-led-side-marker-light-mcl13a2b.aspx
Today on our utility trailer, we're going to be installing the Obtronics Mini LED Side Marker clearance Or identification light in the two-wire and two-diode design in the amber color, part number MCL13A2B. Here's what our side marker light looks like. We've already got a running light circuit wire running over here to this side of the trailer, and that's what these would run off of. Our black wire will be connected in with the running light circuit on your trailer, and the white wire with the ring terminal is the ground. We've also gone ahead and drilled a couple holes here in the trailer, as you'll need to be able to feed the wires through one of them, as well as two holes here and here, for mounting it. Now the hardware to mount the light does not come with it, you will need to supply that, as wel. We'll go ahead and take our two wires, feed it in.
To secure our light, we're just using a machine screw that looks something like that, as well as a little locking nut for the back side. We'll go ahead and put one of them in, so that it stays in place. Go ahead and put that one in, as well. Now for the ground wire, we're actually going to take it and connect it back onto one of the screws that we're using to secure the light. Go ahead and take our screwdriver; tighten things down.
We'll then need to connect our two wires together and strip some wire back. Go ahead and strip some wire back from our running light circuit wire, as well. To make our connection here, we're going to be using one of these blue heat shrink connectors. We'll go ahead and make our connection. Then we can take our heat gun and seal it up.
If you don't have a heat gun, a lighter will work. Just be careful that you keep the flame moving, as these can burn. Once we have the heat shrink sealed up, we can go ahead and put a little tape on it, just for a little extra protection. We'll also go ahead and add a zip tie to keep the two wires nice and tight. We'll go ahead and trim off any excess zip tie, and now we're ready to check the light and make sure everything's working just fine. This little white wire here that you see has actually just been snipped off, so the white wire here does not go to anything.
Just the black wire, they're using as the running light circuit. Now we'll go ahead and turn our running light circuit on, on our trailer. Here is what our new Obtronics LED Mini Side Marker or Clearance light looks like. With that, that will do it for the installation of the Obtronics sealed Mini LED Side Marker Clearance or Identification light, part number MCL13A2B, as installed on our utility trailer. .
Тэги:
#2-1/2L_x_1-1/16W_Inch #Amber #Clearance_Lights #Detailed_Breakdown_of_the_Optronics_LED_Mini_Clearance_or_Side_Marker_Trailer_Light #Installation_of_the_Optronics_Mini_LED_Side_Marker_Light #LED_Light #Optronics #Optronics_Mini_LED_Side_Marker_Clearance_or_ID_Light_2_Wire #Rear_Clearance #Rectangle #Side_Marker #Submersible_Lights #Surface_Mount #Trailer_Lights #trailer_hitches #trailersКомментарии:
Beyblade Burst Spriggan Devolution
Teng-Beyblade
Halt die Klappe
Toto_King
The making of "The Godfather"
CBS Sunday Morning
Coby x Rouzi - Jao Mama
Bassivity Digital
WR TERRELL SMITH FOOTBALL COMBINE CHALLENGE NFL COMBINE TESTING
FBCOMBINECHALLENGE
FireGamer Played Mr.Hopps 2 Part 1
FireGamer

