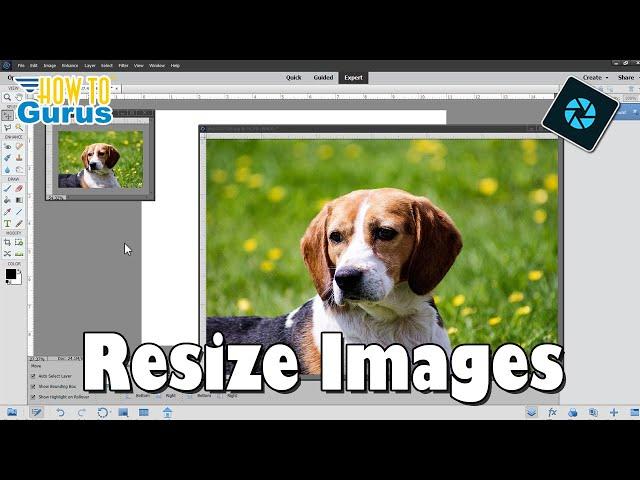
Resize Images the Right Way in Photoshop Elements
Комментарии:

Thanks George. This will prove to be very helpful without losing quality.
Ответить
Is the Affinity photo video you are making
advanced or for beginners?

I was told PPI was just making a difference in for printing, now I see the difference.
Ответить
You're the best George. I usually do the resizing before I put it on a new background. I usually forget about the "Place Image".
So I noticed in the "Image" "Resize Image", you had "Scale Styles" checked {I always have Constrain Proportion & Resample Image checked} so what is/does the "Scale Size" do to the image? Thanks!

Hi, just a question - does that mean you will move all the existing videos to the new channel, too? Nothing will get lost in order we need to replay some of your tutorials, right?
Ответить
Very important tips!!!! A real must when working with compositions from several photos!
Thank you as always!
Rich

This information is critical for resizing.
I did not know this.
Very informative!
I thought 300 was 300
Especially when downsizing 😮 what an eye opener to change.
Okay, you open a photo and want to print. Most likely you will be doing some cropping. Does this change everything again?

Excellent explanation and demonstration
Ответить
Thank you . George. Good information. I have not been using "Place", however, will do in future.
Ответить
Now I understand the reason beyond using the Place option (under the heading file) it's for the purposes of keeping the quality of the photos pixels in tact rather then at the hands of the default measures of Elements. What a wonderful tip to know an understand. Thank you George.
Ответить
Please could you do an indepth on Soft Proofing for printing in Affinity or Elements. By the way if you 1/2 the side length it is only 1/4 the size, that is the inverse square law for us old timers as used in calculating flash exposure.
Ответить
Excellent, George. Like febeleven, I tend to forget about Place Image. Where necessary, I always, before taking any action whatsoever, convert the dpi to 300. But I must remember Place Image!!
Ответить
thanks for the clear explanation
Ответить
Very helpful thanks
Ответить
I just saw your video where you recommend E+ (ElementsPlus) to create Smart Objects. This video about resizing doesn't mention Smart Objects. Is this an older video? Or did I misunderstand Smart Objects? I trying to restore very old scanned photos that are around 2"X3" . What settings do you recommend for the Pixel settings?
Ответить
Hi George, Thank you so much, I've learned so much from you. Question on this though: I'm understanding the basic concepts but have a specific problem. In trying to meet size specifications for electronic images for my club's competition (just for fun, no monetary prize) when I resize an image that is tack sharp at, say, 6 MB and 4000x3000, to an image that is 2 MB max with pixels maxed at 1920 wide x1080 tall, much resolution is lost, especially in details such as eyes. My current method is Resize, making sure pixels per inch is 300 (at minimum), then typing in the pixel dimensions in the boxes. I see all of the other choices such as resample, and then the bicubic stuff but am confused by those. Any ideas how to go about this so I don't lose resolution when reducing the image? I'm using PS Elements 2021, by the way. Thank you!
Ответить
When I edit a photo and email it back to my phone, the image is blurry when you zoom in on different people in the photo. What do I need to do to prevent this from happening again?
Ответить
A+ thanks
Ответить
Thanks!
Ответить
I want to reszie DNG photos in a folder to Jpeg. Your video does not show how to do this which is very disappointing.
Ответить
How to enlarge?
Ответить


