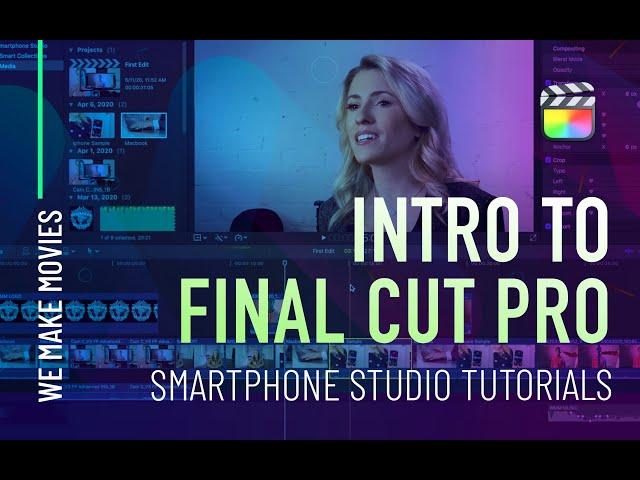
Final Cut Pro: Intro to Final Cut Pro - importing, review footage, make an edit, shortcuts
FREE 90 Day Final Cut Pro Trial: https://www.smartphonestudio.tv/fcptrial
Dive into post production using the pro video editing app Final Cut Pro, the fastest and most professional way to edit your videos. Don't be intimidated as we'll easily walk you through how to create a library and new event for your clips, import your footage into FCPX, create a timeline to start editing your clips, set in and out points, and adjust the timing and placement of clips within the magnetic timeline. You'll officially be an editor by the time you're done watching this video!
We Make Movies. The DIY Film Community That's Got Your Back! Check out our website: http://wemakemovies.org
00:00 - INTRO
00:37 - Free Trial - https://www.smartphonestudio.tv/fcptrial
01:17 - Create a Library
01:33 - Create an Event
01:56 - Create a Project
02:24 - Import Footage
03:29 - Review Footage
04:19 - Make an Edit
04:57 - Use Shortcuts
07:15 - Free Trial - https://www.smartphonestudio.tv/fcptrial
#FCPX, #FCP, #Finalcutpro
Editing video can be intimidating -- to the beginner filmmaker it can seem very technical and complicated.
In this video I’m going to show you that it’s super easy to get started editing. We’re going to use Final Cut Pro X which is very powerful, professional video editing software, but it’s also extremely intuitive and quick to learn. By the end of this video you’ll have your footage imported and will be well on your way to completing your first edit!
First things first. To begin an edit we need to create a Library in Final Cut Pro X. A library is a container for all the media and edits in a particular project.
While we’re at it, we’ll also create a new Event, which is like a folder on your Mac or similar to a bin if you’ve used other professional editing applications.
Now we need to import some footage. If you airdropped from your iPhone, your footage is probably sitting in your downloads folder. There’s two ways to import it into Final Cut.
With the Media event we just created selected, you can open the Import Window by going to File, Import Media, and then navigate to the folder.
You can also drag and drop directly from the Finder into Final Cut.
There’s two ways of viewing your footage in Final Cut. The first view is called Film Strip view and is on by default. You can see your clip names displayed below each clip in the browser and when you hover over a clip you can easily skim through the footage.
If you want to play something back, hover to the place you’d like to play back from and push the spacebar.
The second view is called List View. List view will allow you to scroll between your clips with the up and down arrows, and just like in Film Strip view you can skim the footage in the thumbnail at the top of the list and start and stop playback with the spacebar.
Next we need to create a Project. The project is a timeline that will hold all our edits for our video. To create a new project go to File, New then select Project, or simply press Command N. There are a lot of project options you can set, but to get us going we are just going to go with the automatic settings.
OK so now, let’s make an edit. Hover inside one of your clips and go to a place where you would like a clip to start in your edit.
Click inside the clip and drag to the right until you find a place you’d like to stop. Next, click in the center of the selection and drag it into the timeline which is where you edit will be created.
Congratulations, BTW. Once you’ve done this, you’re now officially an editor!
There are a number of other keys you can press to make editing your clips really fast.
Press the Q key to place the clip above the timeline. When you place a clip above the timeline that clip will show when you playback rather than the clip underneath.
Press the W key to insert the clip between clips. Press the D key to overwrite over a clip. Press E again, and you’ll see the clip added to the end of the timeline as before.
Finally, lets click back over to filmstrip mode and quickly try this with a couple of clips there. First, click and drag across a clip to make a selection and drag it into the timeline.
Now, go hover over another clip you’d like to add to your edit, set an in point where you’d like the edit to start by pushing I, set the out point by pushing O, and then hit E to enter it into the timeline.
Finally, go into the project and select a clip and start moving it between other clips in the timeline. Notice that the other clips will move out of the way to make room for that clip and automatically reorder themselves.
This feature is called the magnetic timeline and its unique to Final Cut Pro X. You can connect video clips above the timeline as well and they will remain connected to the clips below as you move them up and down the timeline.
What you have seen is the basic editing process in Final Cut Pro X, and you now know all the steps needed to build your amazing video!
Тэги:
#final_cut_pro_x #final_cut_pro_(software) #final_cut_pro #final_cut_pro_tutorial #video_editing #fcpx_tutorial #final_cut_pro_x_tutorial #final_cut #fcp_x #fcpx #fcp #final_cut_pro_x_tutorial_beginner #final_cut_pro_x_free #final_cut_pro_tutorial_for_beginners #final_cut_pro_for_beginners #final_cut_pro_tutorial_for_beginners_2021 #final_cut_tutorial #final_cut_tutorial_2021 #final_cut_tutorials_for_beginners #final_cut_tutorials_free #learn_final_cut #learn_final_cut_proКомментарии:
NEVER talk to cops w/ @SwurvPlays
Come On, Man
РОССИЯНЕ В ПАНИКЕ ПОКИДАЮТ ПОКРОВСК! ЭТО только начало ХОРОШИХ НОВОСТЕЙ? Актуальные новости
УКРАИНА СЕГОДНЯ - ГРОШІ
YES | Trailer
MIFF
Paradym Driver Review // Callaway 2023 Drivers
New Nine Golf
Копенкин Михаил - Феоктистова Александра, Final Rumba
DANCESPORT.RU
2010 ЛАДА ПРИОРА 1.6МТ POV TEST DRIVE ТЕСТ ДРАЙВ ОТ ПЕРВОГО ЛИЦА
AUTO CONTROL POV
Выпускной в детском саду 2016
Natali Demeanenko
